
SpringBoot is made to be powerful and easy! It’s very nice to work with and you will need only these 5 steps for your first app in a Maven project:
- Define the SpringBoot parent lib
- Define the dependency to the SpringBoot web library
- Define the Maven plugin for SpringBoot
- Create the main method
- Create a controller with an endpoint
Parent SpringBoot lib
This is the main and first step when creating a SpringBoot application. The parent library will import basic dependencies from Spring into your app. Add the following code into your pom.xml.
Web Starter
The second step is to import the web started dependency. This dependency will trigger the initialization of the web container (Tomcat, by default) and will make listen to HTTP requests.
SpringBoot Plugin
In order to easily make the JAR file call the main class when executed, you need the spring-boot-maven-plugin. Add this to the pom.xml.
In the end, your pom.xml file will look like:
Main Method
As any other executable Java application, it will need a class with a main method so as to start the application. For SpringBoot applications, your main method must call SpringBoot’s run() method, as below.
Controller
Now, after setting up SpringBoot, all you need is an endpoint to provide data. In the example below, the endpoint is implemented in the same class as the main class, but this is not a requirement. It could have been a different class.
Running the App
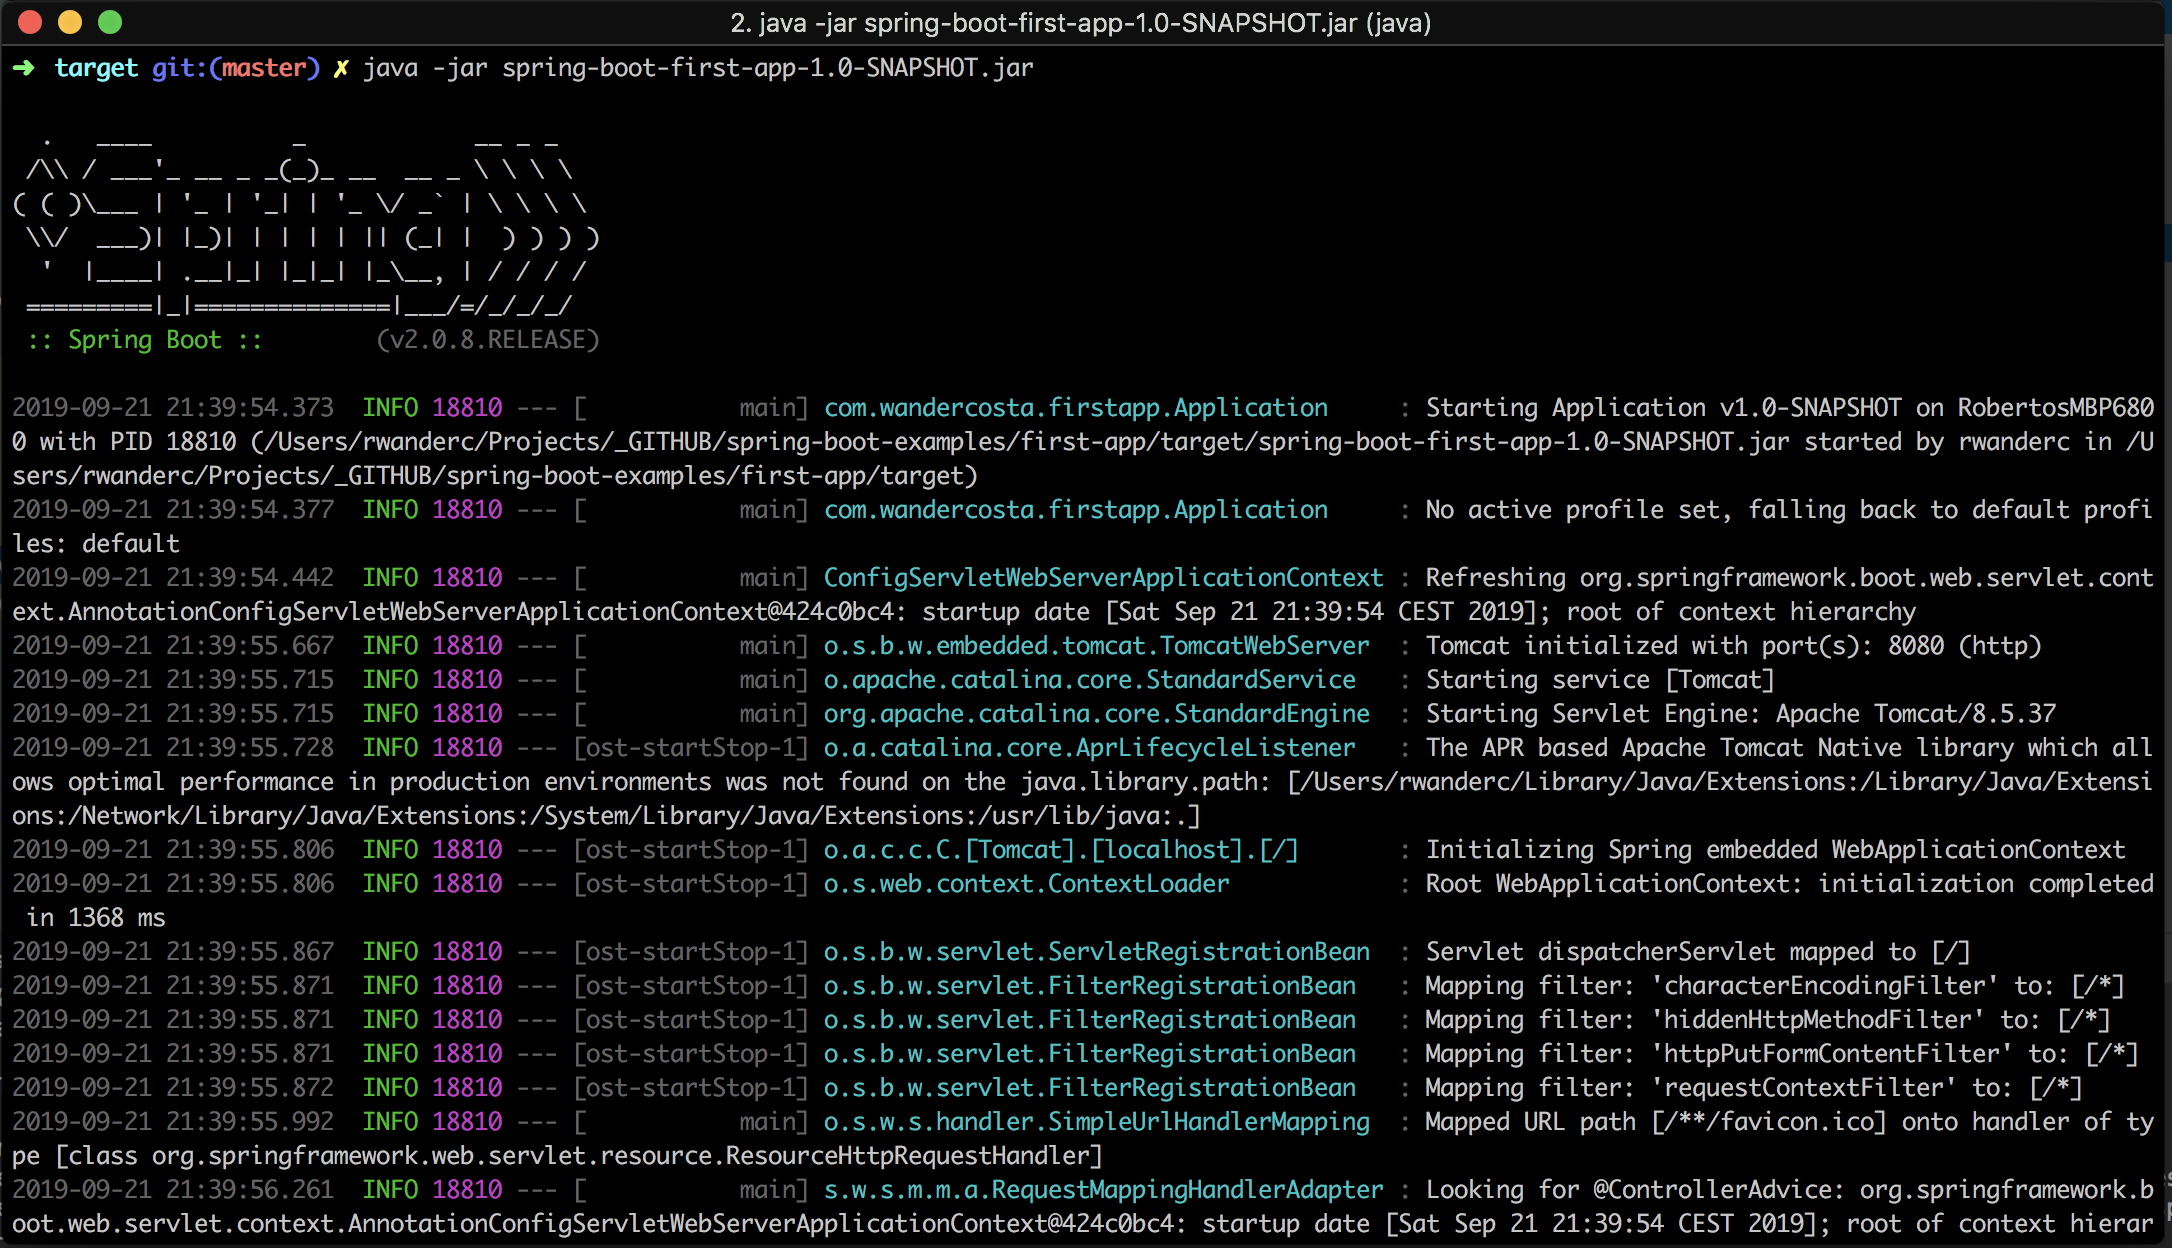
Before running the application, it must be compiled with the command mvn install. After compiled, the application can be run like any other Java JAR file. Run the command java -jar spring-boot-first-app-1.0-SNAPSHOT.jar in the target folder.
And now the application can be accessed via the browser or via the curl command curl http://localhost:8080.
The code of this example is available in my GitHub account. Check it out.